
DG has made his own attempt at creating an Anti-Gravity End Table.
Well, that’s not exactly the same thing, although it is somewhat perplexing how it remains vertical.
OK. I’m outa here.
DG has made his own attempt at creating an Anti-Gravity End Table.
Well, that’s not exactly the same thing, although it is somewhat perplexing how it remains vertical.
OK. I’m outa here.
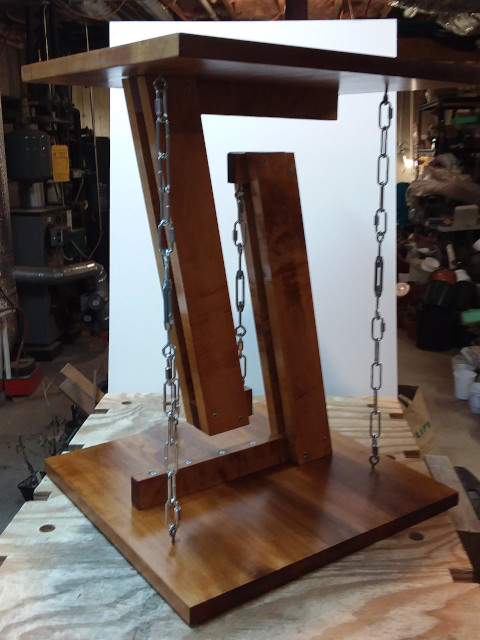
Since we are showing off our woodworking projects, I thought I would post some photos of my latest. This is my Anti-Gravity Skyhook Steampunk End Table.
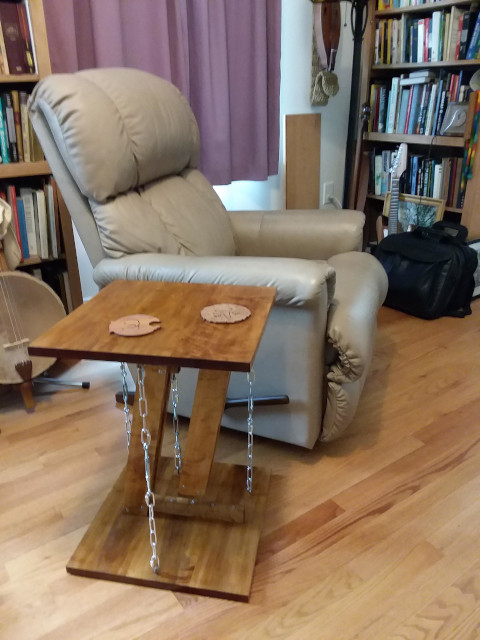
The unique thing about this table is the fact that there is no solid connection between the top section and the bottom section. There are only the chains connecting the two sections.
Yes. That is what I said. The entire table simply hangs from chains.
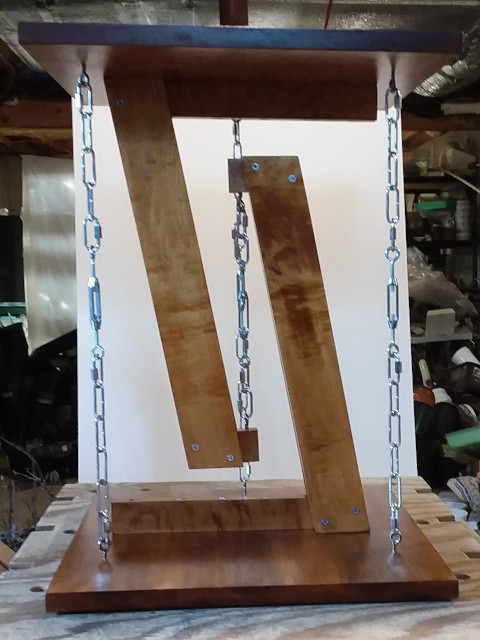
To make it easier to see what I mean, I light-boxed it.
As you can see, the top section and the bottom section do not touch. The top section is hanging from chains.
Here is a profile view that will make it more clear.
There is no trickery with the chains, such as welding them solid. They are just regular chains. If I take the table apart, the chains go limp as chains are wont to do.
“That isn’t possible”.
Yes it is. You can see it with your own eyes.
“So, how does it work?”
My unique design inverts the gravitational relationship between the top section and the bottom section, allowing the top section to hang from the bottom section.

Oh hush. You’re just envious because you weren’t able to defy gravity with your project.
“So, what is with that long, strange name?”
Well it is obviously Anti-Gravity since the top section is floating above the bottom section with no visible means of support. The only way I know how to do that is with a Skyhook. And the word “Steampunk” is just a really cool word so I used it. The chains do make it look kinda sorta steampunk, don’tcha think? Well, I guess it needs more copper and leather and rivets to be proper steampunk, but I’m going to leave it in the name anyway.
It has been a while since I have run into DG, so I checked up on him to see how he is doing with his woodworking hobby. It looks like he has finished his first project.
Me: OK. What is it?
DG: You can’t tell?
Me: Um…. Maybe…… Is it a lamp?
DG: No.
Me: Is it a foot stool?
DG: No.
Me: Is it a mallet?
DG: No!
Me: Is it a dog dish?
DG: We don’t have a dog.
Me: Oh. Yeah. Is it a hot plate?
DG: NO!
Me: OK. I give up. What is it?
DG: It’s a jewelry box.
Me: Well, that’s a relief. I was afraid you were going to call it “Art”.
Come again come along.
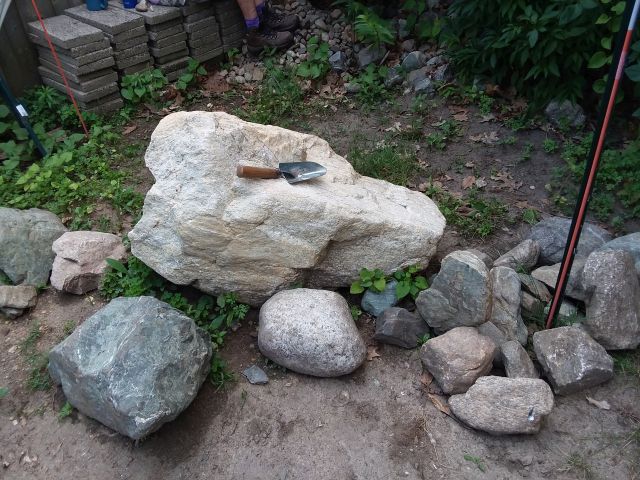
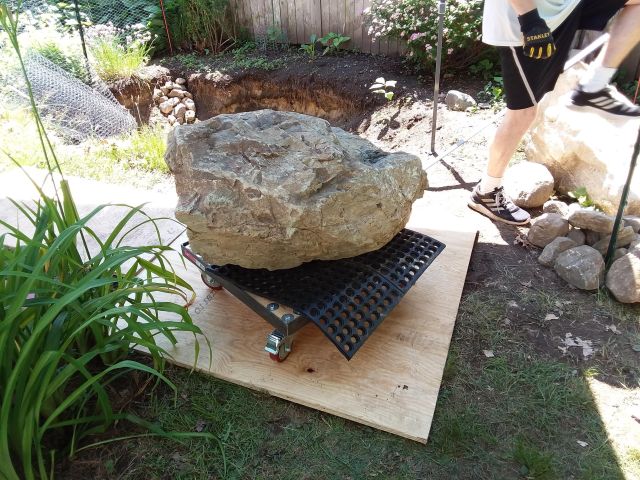
We are back using the come along to move Gunther. It was a challenge getting it up onto the dolly, so we pulled out the heavy equipment. We hooked one chain to a sturdy tree.
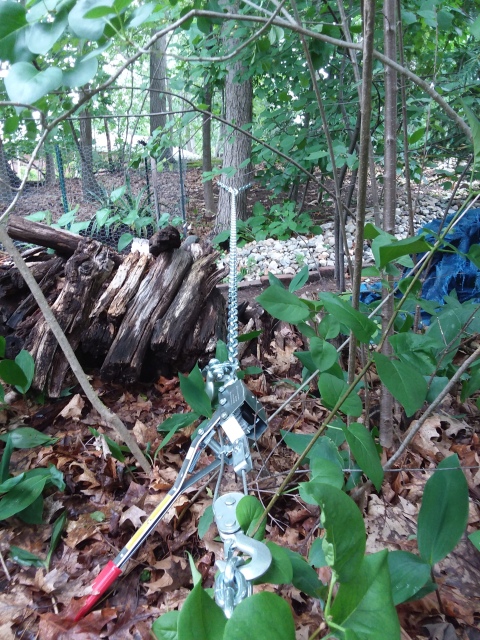
The other chain was hooked to the rock.
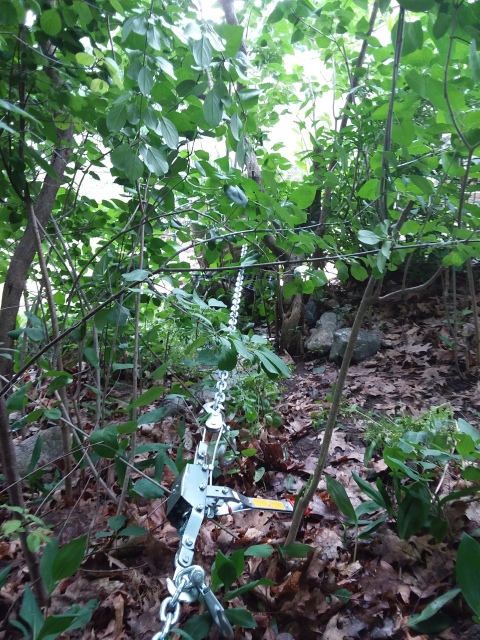
You can’t really see the rock in that picture. Here it is.
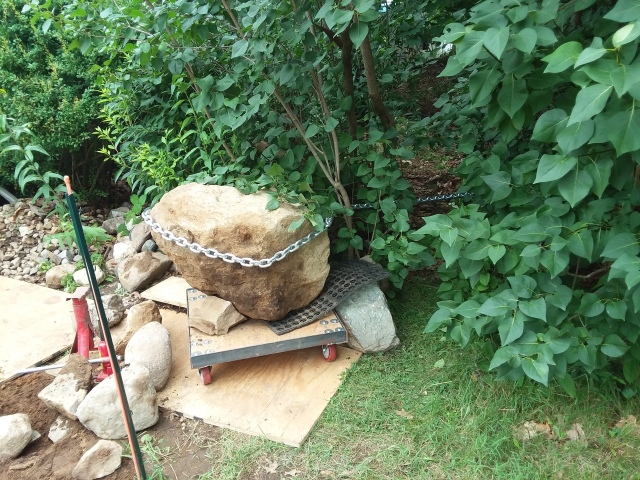
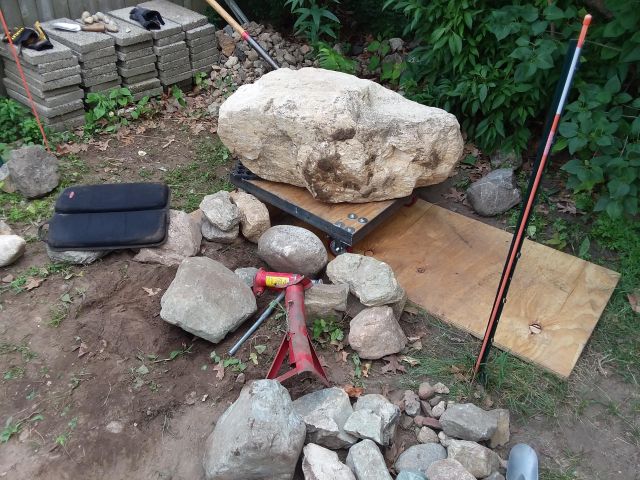
As you can see, at this point we have unceremoniously winched Gunther up onto the dolly. It took a bit of cranking and jacking and saying words like “shucks” and “darn”, but we got ‘er done.
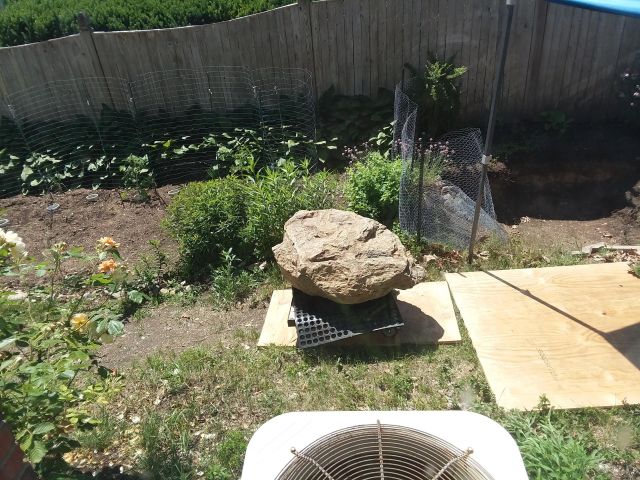
Then began the trip down to the front yard.
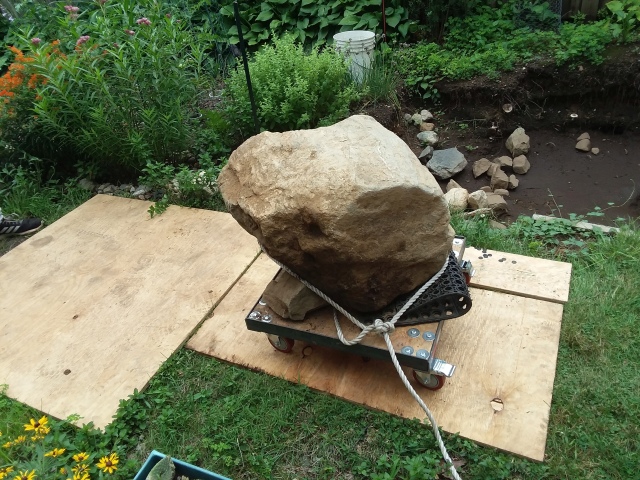
We have substituted the rope for the chain to try to maintain control of the direction of the roll.
By the way, I cannot claim innocence in this move since I was the official “rope puller” this time. How quickly we fall.
It is a long trip down the hill.
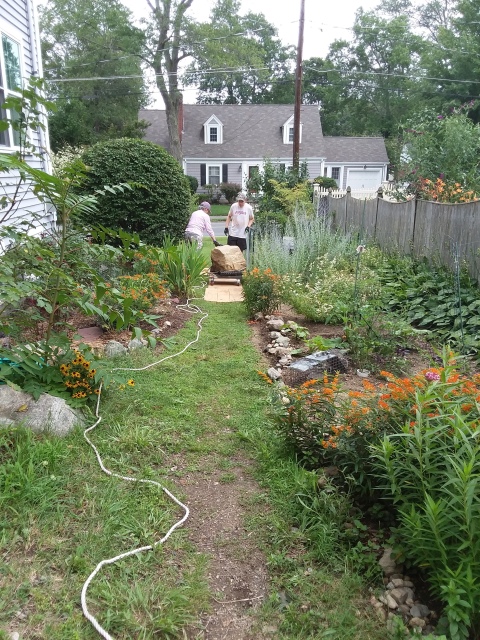
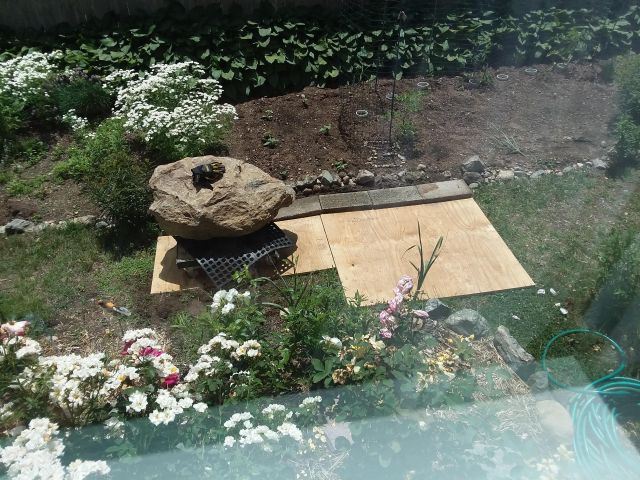
Move dolly. Swap plywood. Move dolly. Swap plywood.
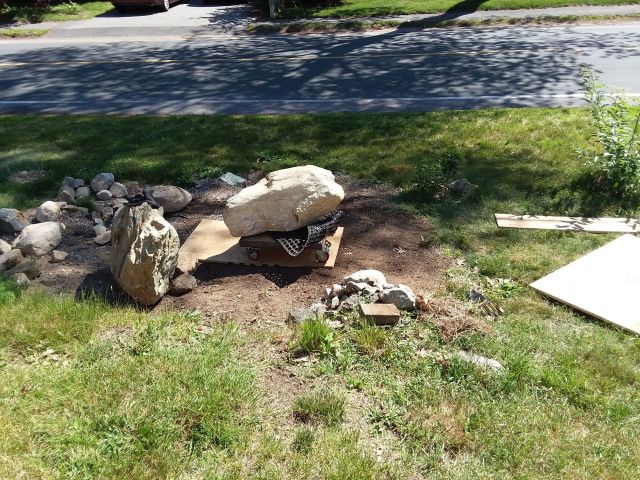
Finally we turned the corner.
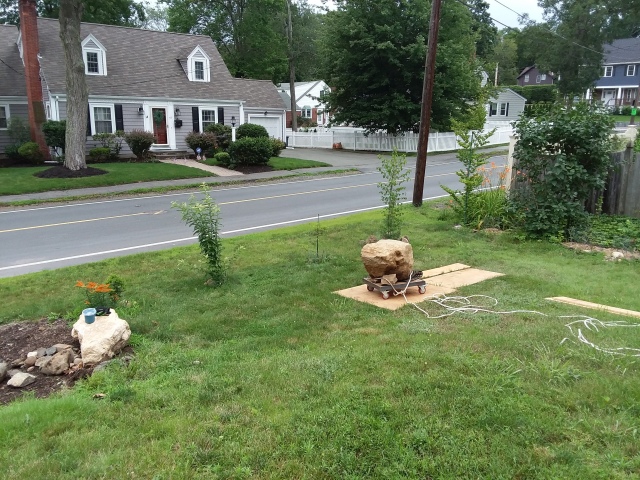
And then, Gunther was unceremoniously dumped onto its destination.
I am hoping that we are now done with moving rocks.
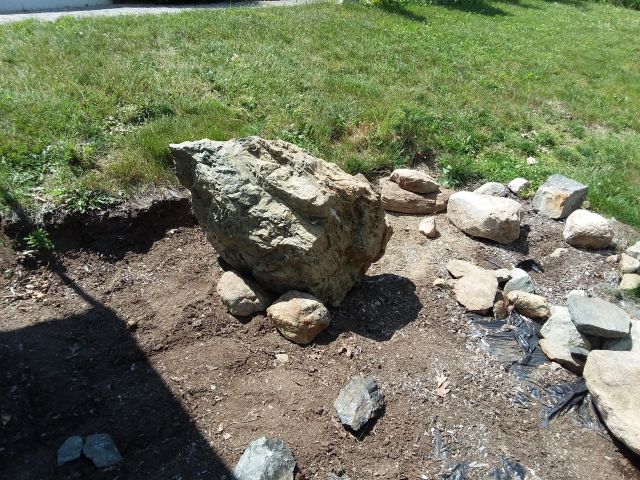
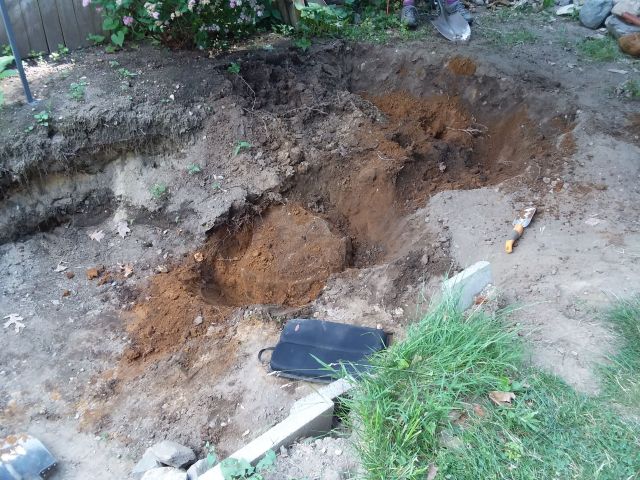
You may remember that a couple of posts ago we left a newly discovered rock buried in The Hole.
Its name is “Gunther”.
Well, thanks to a new Come Along, a couple of logging chains, and a sturdy Lilac tree, Gunther is out of the hole.
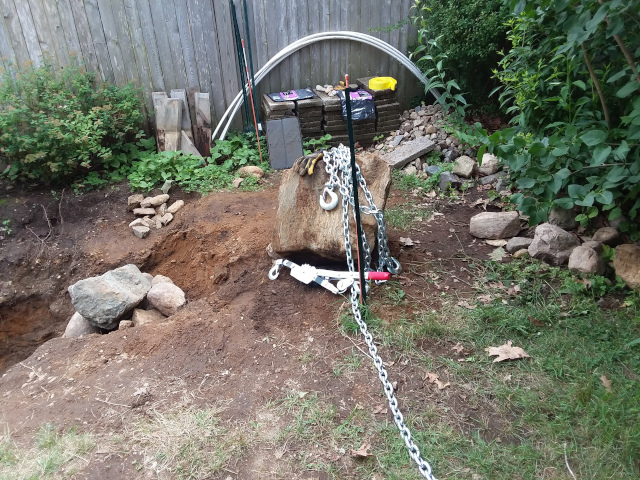
There was nothing subtle or exquisite about this extraction. There was no gentle prodding or prying. This guy was dragged out sideways using brute force. Bwaa haa haaaaa!
Oh, and check this out.
It was brutal.
Stay tuned for a trip on the dolly.
And….. there is one more thing for this post before I hang it up. I need to print a retraction.
It seems that the rock I referred to as Jennifred in my previous post is really Geraldine, and Geraldine is Jennifred.
Go figure.
I don’t know how I could possibly have got that wrong.
Since it is the 4th of July I decided to try my hand again at making some computer generated fireworks…… like I did last year. I thought I might be able to do a better job a year later.
Well, maybe not that much better.
Anyway, here it is.
If it doesn’t start automatically, push the Play button. There is no audio, so don’t bother to turn on the speakers.
Happy 4th of July.
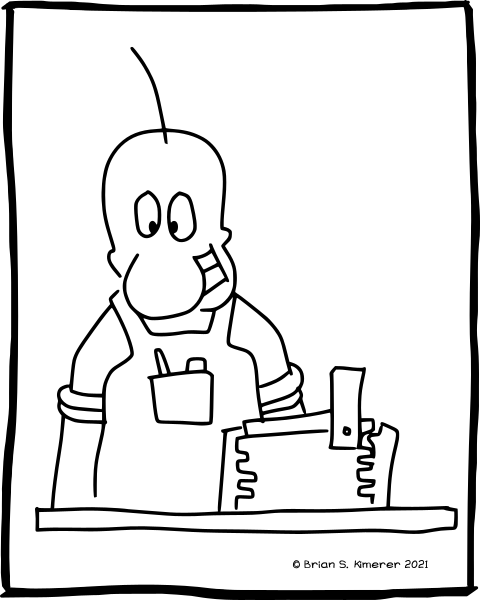
It is way too hot outside to move rocks. So I checked up on DG to find out what kind of progress he is making with his new woodworking hobby.
Um. Well……. um.
Keep trying.
It’s not as easy as it looks.
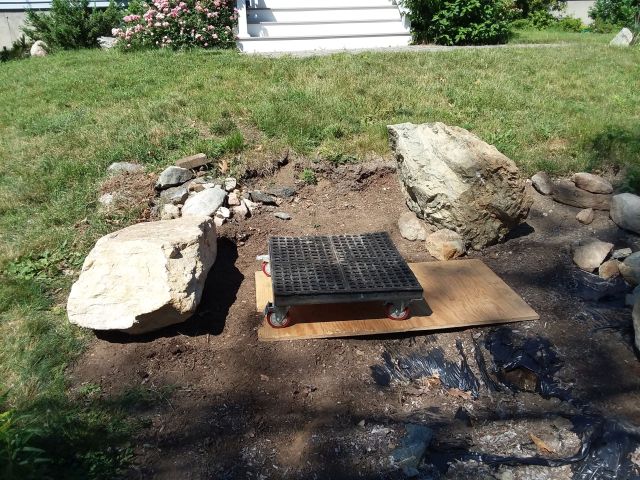
Last time I posted, we left The Rock just short of its destination. Well this weekend we did the final move into the hole that will become the new garden. The hole is where a tree fell down a couple of years ago, and it is destined to become a new garden with that rock serving as a retaining wall.
So, now we are done. Yay!
No, wait.
Oops. I forgot about Geraldine, still sitting up at the other hole.
You know the drill. Up on the dolly on the plywood.
Move the rock; swap the plywood; move the rock; swap the plywood; move the rock……
And thusly, Geraldine made the journey down to the front yard.
Off the dolly.
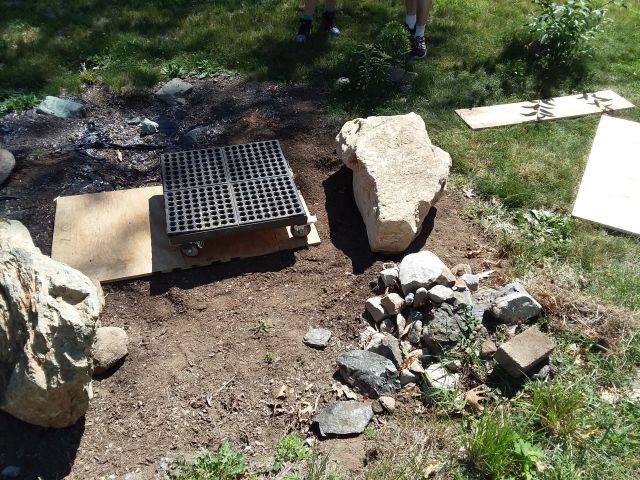
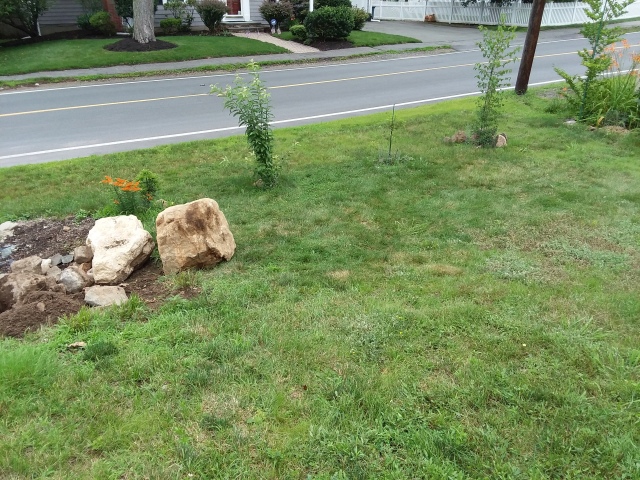
Joining her sister.
Yay. And now we are truly done. Both rocks have been moved.
The kids went back up to continue digging the other hole.
“Hey!”, I heard, “Come look at this!”.
“Gunther”, they said.
NOOOOOOO!!!
Moving Who?
Jennifred.
Remember back last fall, when the kids dug out a couple of boulders from under the garden?….. and gave them names?….. Here’s a pointer to remind you.
Well Jennifred and Geraldine sat outside the hole all winter, and now it is time to move them to the front yard to serve as a decorative centerpiece.
How do you move a rock that big?
First, you build a dolly that is specially designed and built to handle the weight. I helped with that part.
Then, you gently place the boulder onto the dolly on a sheet of plywood. I didn’t help with that part.
The plywood keeps the wheels from sinking into the dirt.
By the way, that plywood cost me 70 bucks! Thanks, Covid-19!
Then alternating between two pieces of plywood, you slowly move the dolly down the hill.
Down past the garden
All the way down to the front yard.
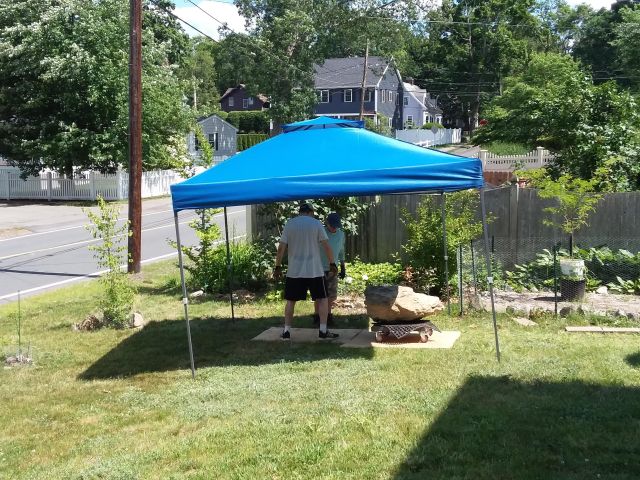
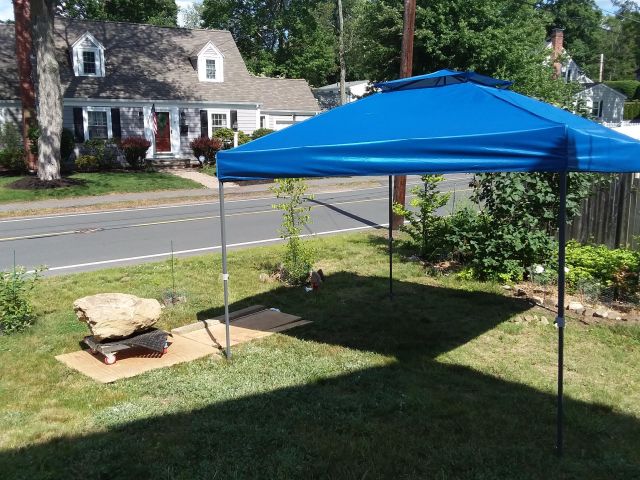
Oh, and the tent is new too. It keeps the kids from sweltering in the hot sun.
The tent was expensive.
This project is costing me a bundle.
Did I mention that the tent was expensive?
OK. Around the corner.
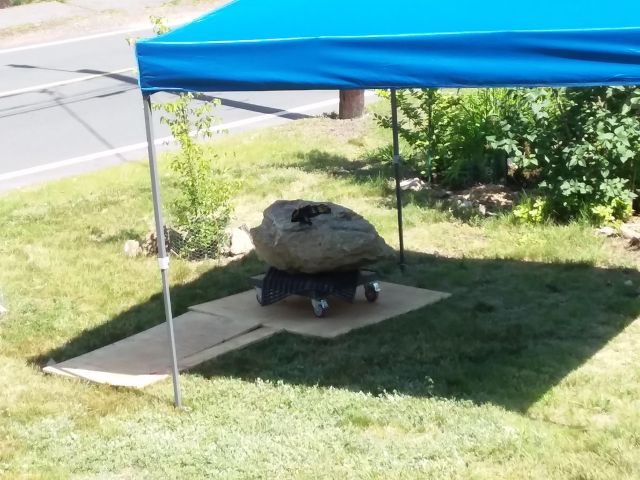
Across the yard.
And…… that is where everybody ran out of gas. Well, everybody but me. I felt fine. So I took the initiative to cover the rock with a tarp so that nobody will try to steal our rock. That would be awful.

The tarp was cheap.
And that is how we moved Jennifred from the back yard to the front yard.
Well, OK then, that is how they moved Jennifred from the back yard to the front yard. I got tired just taking these pictures.
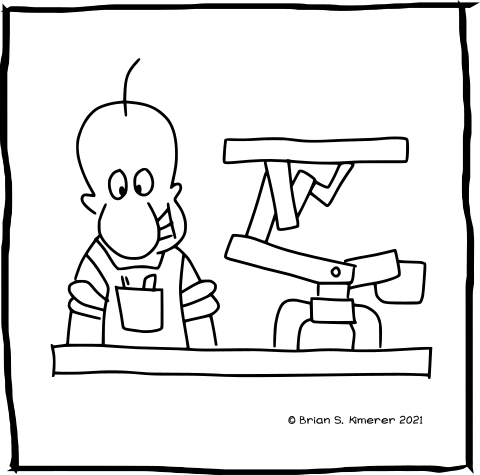
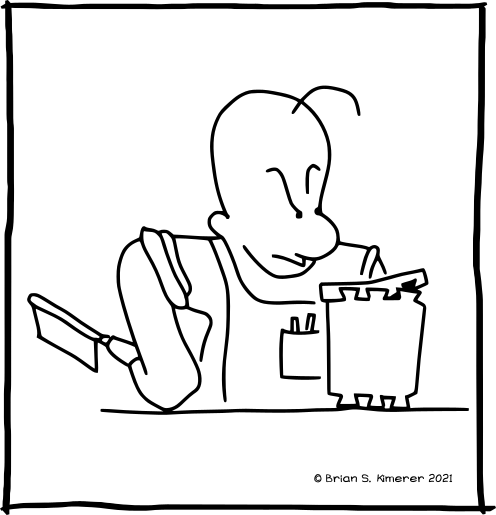
DG has decided that woodworking is going to be his “thing” now. So he rummaged through the tool chest and equipped himself to get started.
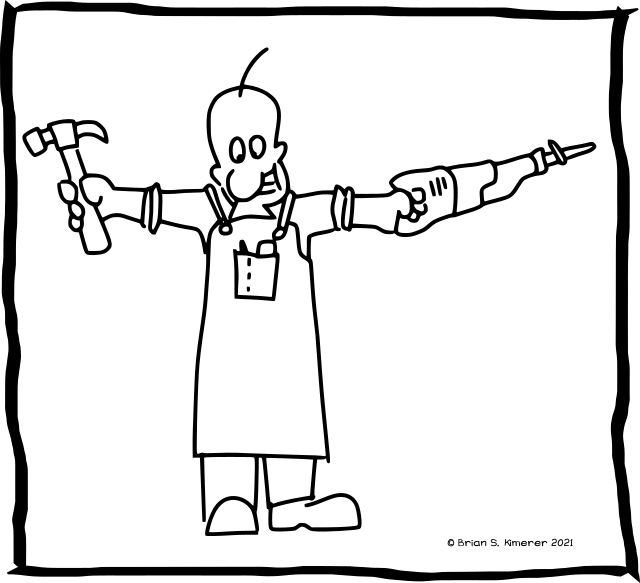
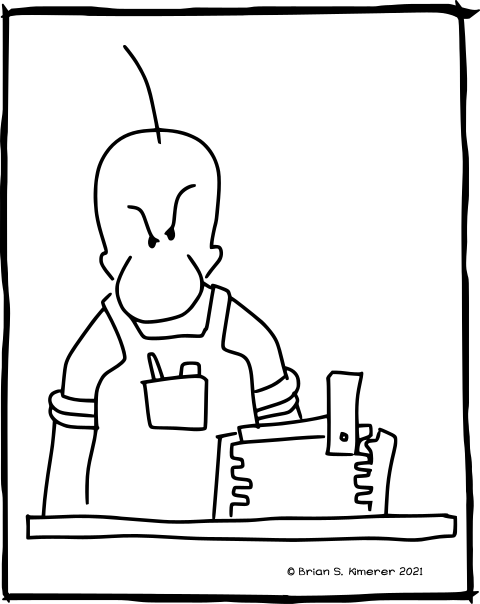
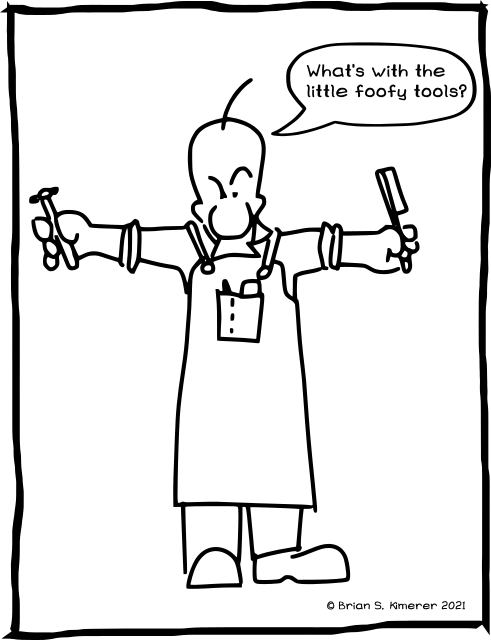
What…. are you going to build a shed? This is fine woodworking, not carpentry.
Here…. let’s adjust your choice of tools slightly.
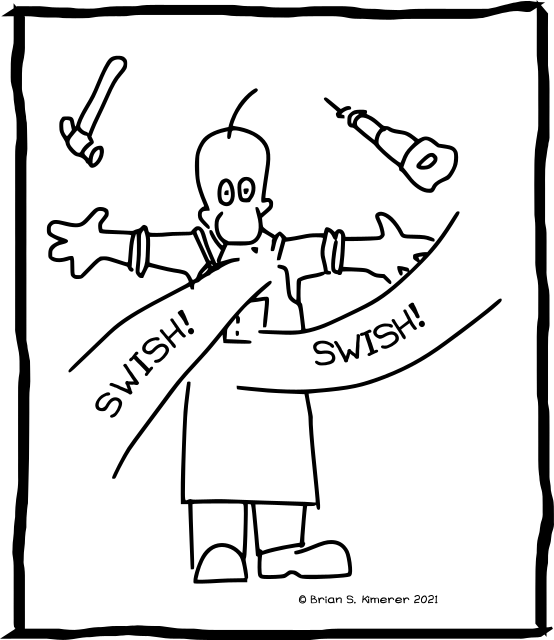
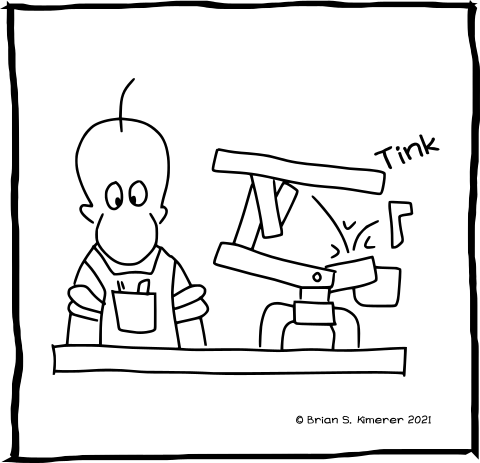
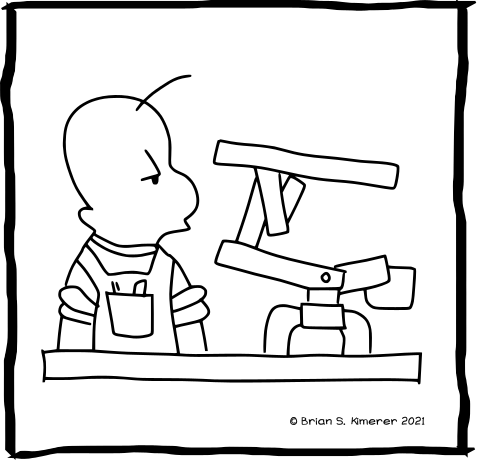
There ya go.
Hey. We’re doing fine woodworking here, not splitting firewood. Get over it.